G-FORCE
I'd never been to a rocket launch outside the United States and when Jeurg Thuring, the Prefect of the Tripoli Switzerland, invited me to the "European LDRS," I just had to go. The ARGOS ALRS 2001 was held in the Spring near Neuchâtel, Switzerland.
So, of course I had a build a rocket to bring along to the launch. Since partly I'm attending as an AeroTech ambassador, it would have to be a kitbash of an AeroTech kit. The G-FORCE is one of our newer and larger rockets, plus it looks very cool.
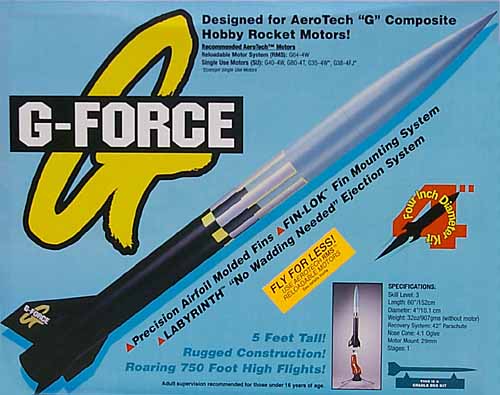
So, I set out to build my version of the G-FORCE kit, but capable of handling high-power motors. My version is fiberglassed, has composite fins and a 54mm motor mount tube.
The Pictures
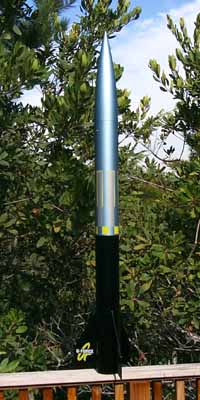
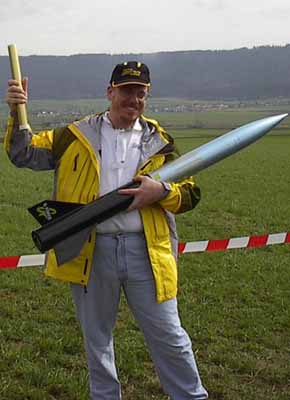
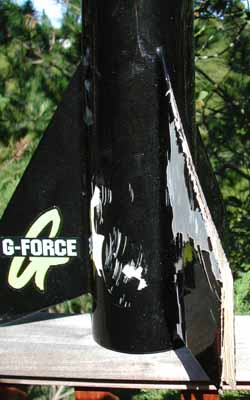
The G-FORCE decals went on on Monday evening (March 19) in plenty of time (relatively) for the ALRS launch for which I had to leave on Thursday. Below left you can see the first completed picture out in my backyard on Tuesday (one of a nice string of beautiful pre-Spring days). Below right you can see me with the G-FORCE ready for its maiden flight on the newly certified Kosdon (by AeroTech) I310. (This and the other ALRS launch photos by Denise Savoie.)
 |
 |
We arrived at the ALRS launch site on Saturday morning. The sky was gray and the ground was muddy but it was a spectacularly beautiful day. Just look at this!
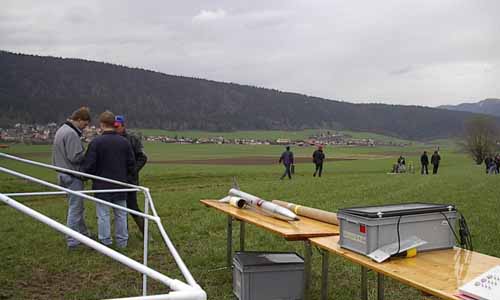
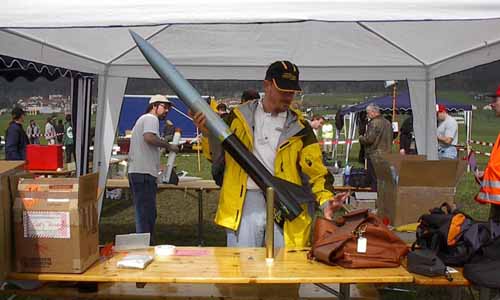
Chet Geyer was planning to fly an AeroTech hybrid in his Optimal 65 and I was planning to fly a brand new Kosdon (by AeroTech) I310 in my new G-FORCE. Juerg Thuring, the prefect of Tripoli Switzerland had generously let Chet and I use his work area and you can see Chet and I working on our rockets below.
I flew the G-FORCE at noon on Saturday and it was a beautiful flight with a strong quick liftoff on the Kosdon I300. (Launch photo below by Gary Rosenfield.)
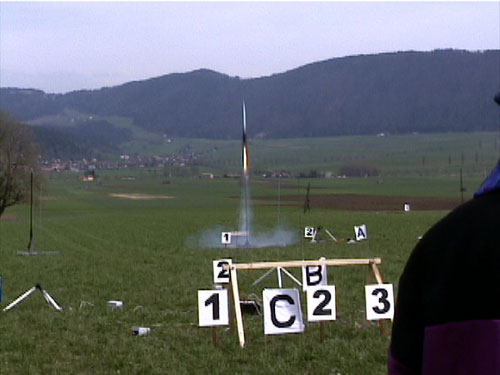
Unfortunately, I used too large a parachute and there was strong wind at altitude (the flight simmed to 4300 feet). The rocket sailed away, even catching a thermal into a distant row of trees. Sue managed to track it all the way, even when the rest of us couldn't see it any more. "It's way up in a tree; right at the top!" she told us. None of the rest of us could see it, but she could.
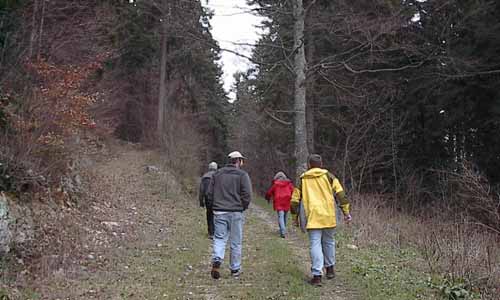
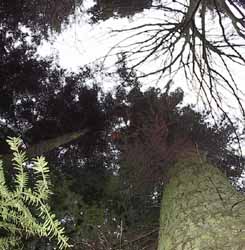
We went driving through two villages and into the forest. Sue led us right to it, even though we had to get out and walk for the last few hundred yards. Below you can see us hiking up a fire trail after we left the car at a locked gate.
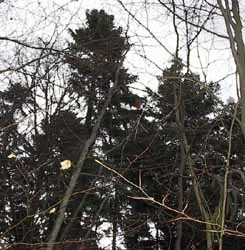
Sure enough, it was right at the top of a tree (or maybe between two). In the photos below, you can see the orange spec of parachute if you look closely. If you can't spot it, move your mouse over the pictures to see it highlighted. This is the first time I launched where there were tress and I lost my rocket in one!
|
|
It was obviously too high to knock down and the trees didn't look too climbable so we had to give it up. Luckily, we came back on Monday with a friend we'd met at the launch. Raphael Jubin is a Swiss rocketeer who lives in a village the the next valley over from the launch site!
On Tuesday, we left to see other parts of Switzerland, thinking that the rocket was history. However, a couple of days later, I got an email saying that Raphael had managed to enlist the fire department in retrieving the rocket and it was recovered with only damage to one fin.
Well, that part of the story had a happy ending. Unfortunately, our baggage got lost on the return flight and the rocket is still in limbo between airline companies and is probably sitting with the rest of our luggage in Frankfurt. As of three days later, we're still waiting for the second happy ending.
The baggage finally made it home five days after we returned. At least it was intact.
On the right you can see a picture of the damage, including the split fin. Apparently, the fire department cut the bridle and the rocket fell 200 feet to the ground. I assume it landed on this fin, which caused the delamination. The interesting thing is that both carbon skins are intact; just the balsa core split apart. It will be easy to fix, but I need to work more on this fin technique.
I did wrap fiberglass around the edges of the fins, but I suspect most of it got sanded off while finishing the fins. The trick will be to build these fins so that a solid fiberglass surface stretches over the edges too. The idea would be to bag on the carbon in a continuous piece over the edge, but this is not easy to do when vacuum bagging because the pressure tends to squeeze flat the overlap at the edges.
However, the fins performed excellently in flight, so perhaps this type of damage is unavoidable. At least the fin didn't break so the only repair needed was to epoxy the split fin back together, as you can see below.
The bonded fin was surprisingly strong; the carbon fiber seems to have kept its integrity. Next time, I'll fly this on an even hotter motor!
The Kit
The AeroTech kits are designed for mid-power rocket motors and go together with a unique and precise system. Rather than using wooden parts and epoxy, they use plastic and CA. This makes a kit which goes together easily and precisely with self-aligning parts.
To make my G-FORCE capable of HPR flights, I decided to build it using more traditional high-power techniques. However, the fins are built-up composite structures using balsa as the core.
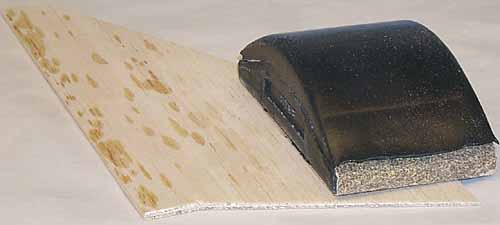
In the picture above, you can see how the profile was created. Two pieces of 1/16" balsa sheet were laminated with a piece of fiberglass in the center. Then, the shapes were made on both sides by sanding the balsa. Finally, both sides were covered with carbon fiber for strength and stiffness. For more on this technique, see my upcoming Extreme Rocketry article.
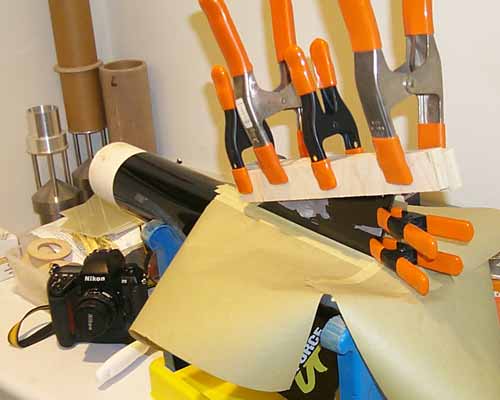
Of course, I also reinforced the paper body tube sections with fiberglass to give the rocket more durability and provide for a better finish. I used my FoodSaver to vacuum bag 6oz. fiberglass cloth.
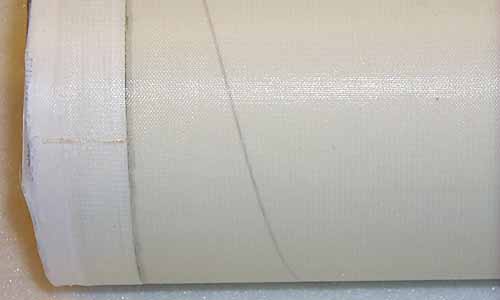
In the photo above, you can see how the fiberglass looks after it comes out of the vacuum bag. The fiberglass makes the tube strong and gives it an even surface. You can still see the spiral groove through the fiberglass, but it's completely covered and requires no filling. For more on this technique, see my upcoming Extreme Rocketry article.
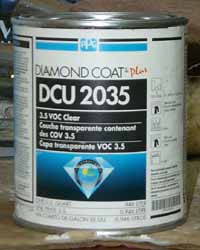 I did try one new thing with this rocket, using PPG DCU2035 "Diamond Coat plus"
instead of the normal DCD35 "compliant clear."
(I like the PPG two-step DBU paints.)
The guy at the paint store (California Car Color in San Carlos) told me about this stuff and
said it was very hard, so hard that it didn't polish well.
That sounded good for rockets, especially since I don't generally buff out my rockets!
I did try one new thing with this rocket, using PPG DCU2035 "Diamond Coat plus"
instead of the normal DCD35 "compliant clear."
(I like the PPG two-step DBU paints.)
The guy at the paint store (California Car Color in San Carlos) told me about this stuff and
said it was very hard, so hard that it didn't polish well.
That sounded good for rockets, especially since I don't generally buff out my rockets!
This stuff requires more components: a DT, a DCX and a DX84 "enhancer" to make it cure in a reasonable amount of time. I used DT870 reducer, DCX61 hardener and the DX84 as per the instructions. Be sure to get the data sheet when you buy this clear coat!
The application is a little different too. The instructions say: "one medium coat, wait five minutes, then apply a wet coat." I applied my wet coat a little too wet. The stuff has good surface tension so I didn't get any sags or runs, but it did collect a bit at the bottom of the body tubes. Next time, I'm going to try three medium coats instead of a medium and a heavy coat.
Other than the ring at the base, this stuff worked great! Now I'll see how it holds up through a launch.